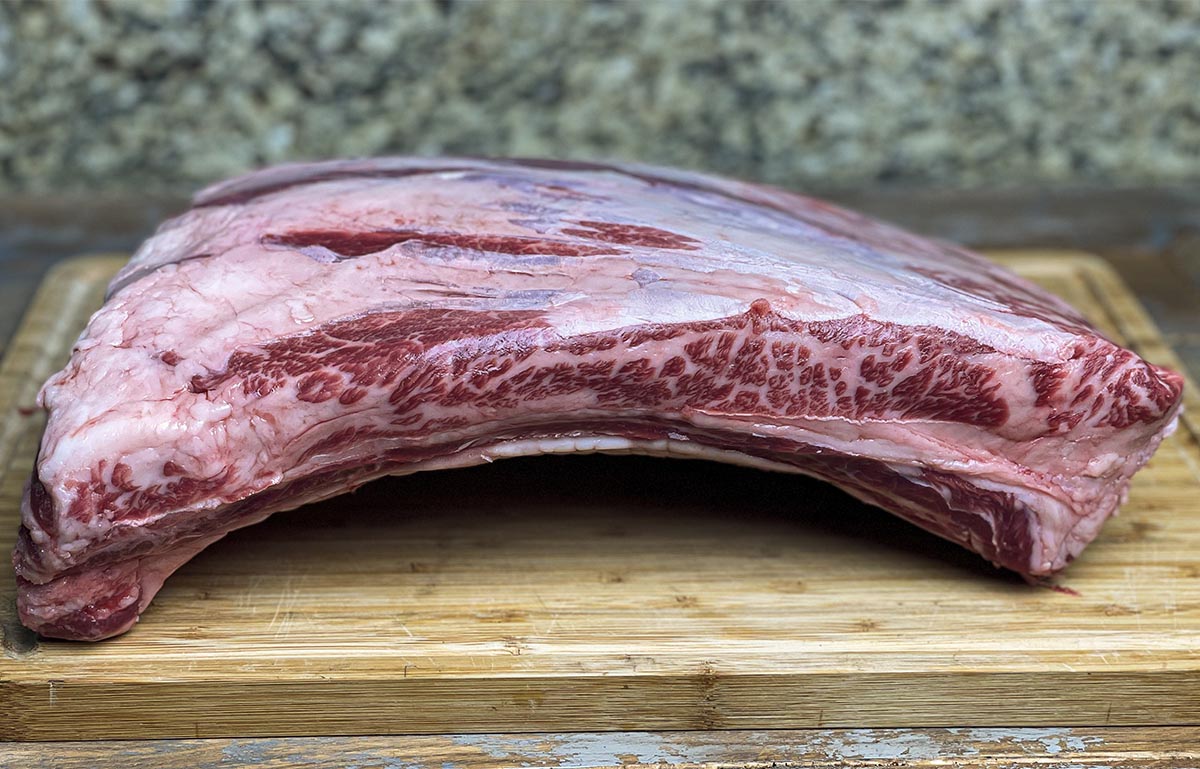
How to Tell When Ribs are Done

SmokedBBQSource is supported by its readers. We may earn an affiliate commission at no extra cost to you if you buy through a link on this page. Learn more.

Even seasoned BBQ pros can still struggle to get their ribs done just right!
If you’re breaking into a sweat at the thought of serving your guests chewy, under-cooked ribs; take a deep breath – you’re in the right place.
Read on to learn our top three methods for checking rib doneness, as well as some important to know general rib cooking time guidelines.
Tried and true methods to know when your ribs are ready to eat
How do you tell if your slab of ribs is done without cutting into it?
Here are our top three methods to tell when your ribs are done.
1. The toothpick test
To get a real idea of how well done your ribs are throughout the rack, we recommend adopting the toothpick test.

It can take a little practice to get a real feel for this test, so you may want to try it alongside the other methods listed above while you’re getting up to scratch.
The toothpick test is simple, take a toothpick and insert it into the meaty sections of your rack. If it slides into the meat, without resistance, then your rack is done.
Be sure to test several different sections thro
2. The bend test
You may also hear this referred to as the “bounce test”.
To check if your ribs are ready using the bend test, you’ll need to pick them up with your grill tongs at the center of your slab. Slightly bounce them and look carefully to see if the meat starts to crack on the surface.
Ideally, as soon as you lift up your slab you should feel that the meat is close to breaking, then with a little bounce, it should crack through. If you don’t get that feeling and only a short crack occurs, give your ribs a little bit longer.
The idea behind this test is that when your ribs are cooked through and the connective tissues have broken down, the skin will be left holding your slab tightly intact. A slight bounce should now be enough to rupture the skin.
Like most cooking techniques, it can take a bit of practice to get a feel for this.
3. The twist test
A little like the bend test, this test also relies upon verifying that the connective tissues have broken down, ensuring your ribs are ready to enjoy.
Remove your ribs from your grill, and being careful not to burn yourself, take hold of an exposed bone tip from the center of your slab. Give this bone a twist, if your ribs are ready it should start to come away from the meat.
Bear in mind that you shouldn’t be too forceful twisting or else your ribs may not actually be done. So be sure to twist gently and try to get a feel for how the meat eases away from the bone.
When your ribs are done, the connective tissues will have turned to gelatin, making it possible for the bone to move about with a simple twist.
ughout your slab to ensure that it is done throughout just how you like it.
What does “done” mean?
When we talk about ribs being “done”, we mean “ready to eat”. Ready to eat as in, tasty, tender, and succulent.
However, for ribs in particular, if you go by the guidelines of when they are “done” as in safe to eat (around 145° internal temperature) – this will result in chewy, tough meat, bordering on inedible.
For better results, cook your ribs up to around 195-200°F.
These higher temperatures cause the collagen in the connective tissue to break down into gelatin and also melts the fat, for tender, succulent meat.
In short, while your ribs may in fact be edible hours earlier, they will not be “done”, as in cooked to perfection for some time longer.
With this in mind, let’s get some guidelines on how long you should cook your ribs for!
How long does it take to cook ribs?
So, just how long does it take to cook ribs? The short answer is – it depends.
There is no single cooking duration that is suitable for all racks and grills. But if you are looking for a ballpark figure, I’d go with around four to seven hours depending on your rack, its thickness, your cooking temperature and other external factors such as humidity and airflow.

To work out the ideal cooking time for your slab of ribs, here’s what you need to bear in mind.
- Cooking temperature – we recommend cooking your ribs low and slow at approximately 220-225°F. Cook any lower or higher and you’ll have to adjust your cooking times accordingly.
- The cut – St. Louis cut ribs and spare ribs are thicker, meatier cuts and will generally take between five to seven hours. For smaller baby back ribs, you’re talking more around three to five hours. (If you’re confused by these names, check out our guide to the different types of ribs.)
- Your slab – as you’d expect thicker slabs with more meat on them are going to take longer than less meaty ones. If yours is a chunky one with plenty of meat on it, expect to be cooking nearer the top end of the suggested cooking duration.
- Rib holders – if you’re cooking for a crowd and have your grill packed with racks in rib holders then you should expect to have them cook for an additional hour.
- Altitude – high altitude cooking requires you to cook for around 25% longer.
Once you’ve taken all of these factors into account, you’ll be able to come up with a good ballpark figure for your individual slab.
Bear in mind that once you reach this time limit, you may wish to sauce your ribs and sizzle over a high heat, so it’s best they are very slightly underdone before this stage. Saucing ribs requires you to keep a close watch so they don’t burn.
If you don’t want to sauce yours, you may need to add on another half an hour or so at 220 degrees.
When you think your ribs are done, use one of the following methods to confirm before serving.
Why we don’t recommend using a bbq thermometer for ribs
It may seem counter-intuitive, but using a BBQ meat thermometer is unlikely to be a real help when cooking ribs.
For starters, there is not really enough meat to get a decent, accurate reading, and the meat also varies in thickness both across the rack, as well as from end to end. What’s more, with so many bones, you may find your readings are completely off as the meat in the middle of the bones can be cooler than that next to the bone.
Basically, there is just too much variation for any kind of reliability.
Use a thermometer to ensure your cooking temperature is stable with the probe kept near to the meat so you can be sure it’s not cooking too high.
Time your ribs according to our guidelines listed above, and when you think they’re done, try one of our top rib doneness cooking tests to make sure.
Why “fall off the bone” isn’t always a good thing
If you’re new to grilling, you may think you need to get ribs to “fall off the bone” for cooked perfection. Wrong.
Ribs that fall off the bone are generally steamed or boiled. This can make them have an almost mushy, soggy texture and it certainly robs them of their full flavor.
What you are looking for is still tender, succulent meat. However, it should come away from the bone with a slight tug. Think of the texture of a prime steak, bursting with juicy flavor.
It almost melts in your mouth but with enough meaty texture to be truly satisfying. That’s how your ribs should taste when they’re cooked to perfection!
Wrapping it up
Don’t ruin your BBQ with underdone or overcooked ribs!
Evaluate your ribs, set your cooking temperature to around 220-225 degrees and check they’re done with one of our top testing methods. By following our tips, you should have the knowledge and confidence that you need to achieve mouth-watering results every time.
What do you think? Have any questions or ideas? Just drop us a line below in the comments, we’d love to hear from you!
If you enjoyed this article and know anyone who could benefit from brushing up on their rib cooking skills, then don’t be afraid to share. Everyone deserves perfectly cooked ribs, after all!

Get Your FREE Digital Barbecue Cookbook
Packed with our most popular recipes including brisket, pulled pork, ribs and more!
Read ad-free on your phone, tablet or print out and spill BBQ sauce on them.