
The Weber Q2400 Electric Grill Review
SmokedBBQSource is supported by its readers. We may earn an affiliate commission at no extra cost to you if you buy through a link on this page. Learn more.
I’m reviewing the
The
I did some hands-on testing to see if the Q series design stands the test of time and how it compares to some of the newer electric grills on the market today.

- Porcelain-enameled grates
- Easy to clean
- 1-hour cooking limit
- No temperature gauge
Weber sent me this grill for free in exchange for an honest review. All opinions are my own.
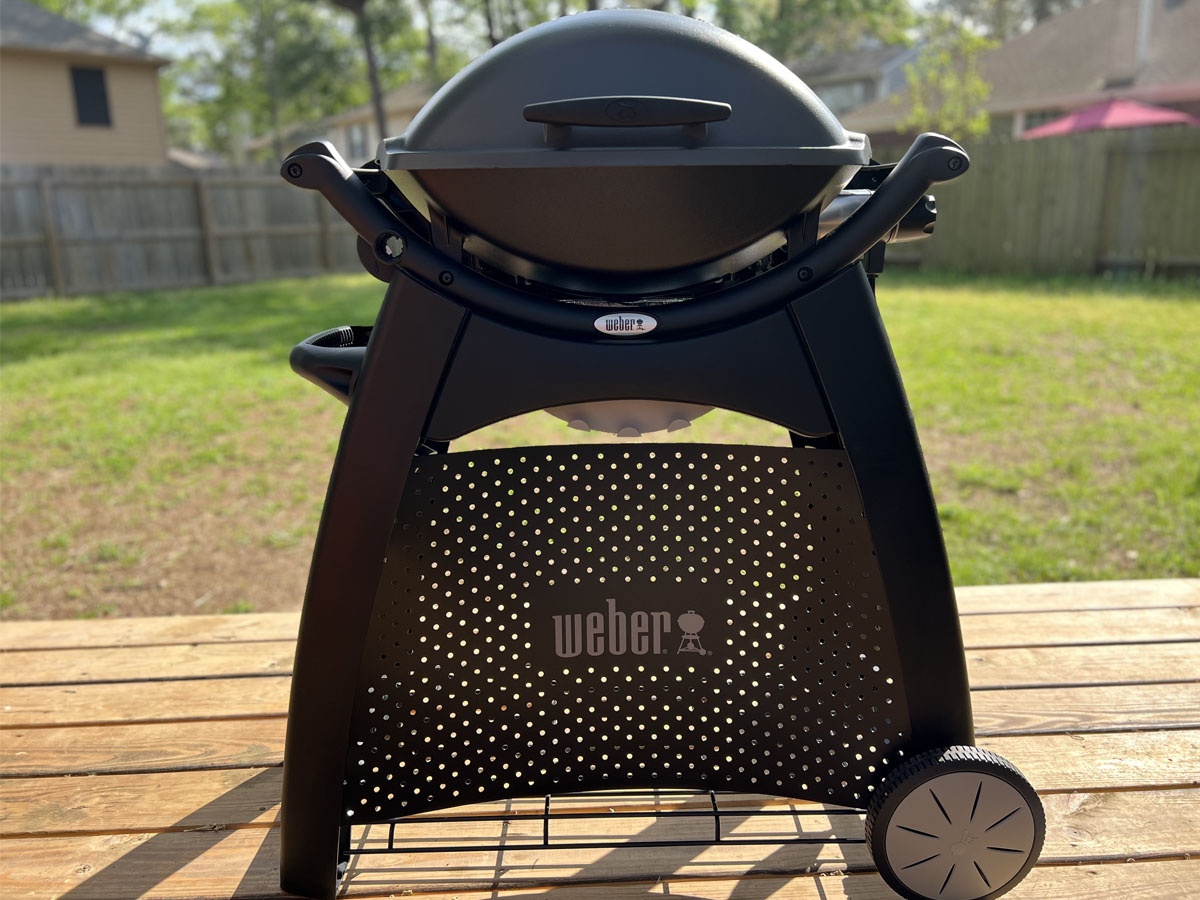
Weber Q2400 overview and first impressions
The
Let’s look at Weber Q2400 specifications:
| Dimensions: | 14.5”H x 31.5”W x 19.5”D |
| Fuel Type: | Electric |
| Total Cooking Area: | 280 sq. in. |
| Cooking Grates: | Porcelain-enameled cast iron |
| Power: | 1,560 watts / 120v |
| Power Cord Length: | 6 ft |
| Price: |
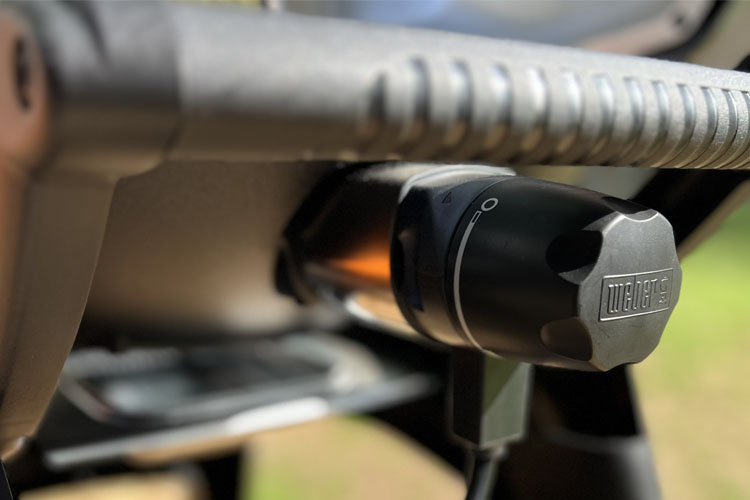
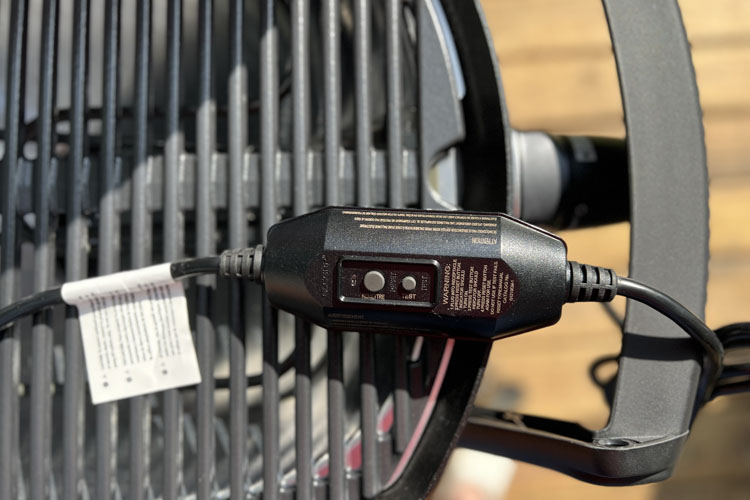
The power supply on the
A – Off
B – Low
C – Medium
D – High
I was disappointed to find that the
I did appreciate that
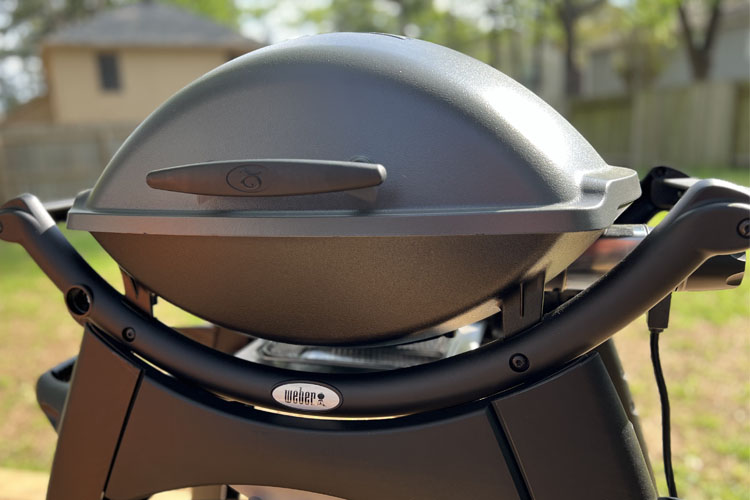
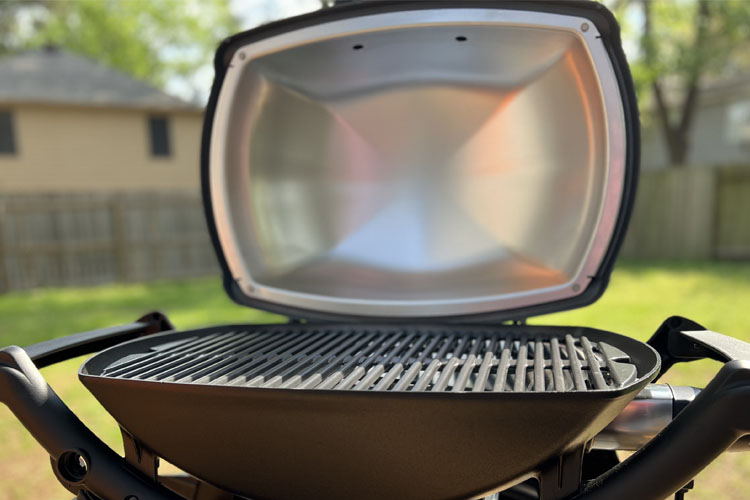
The build quality was great – especially for the price point. The exterior of the grill is made from a nice, thick metal that helps to hold heat very evenly from what I can tell.
The oval-shaped design of the grill is also nice because you can fit larger items in the grill without worrying about the lid touching your food.
Unboxing and assembly of the Weber Q2400
The
To attach the lid to the grill body, you simply slide 2 cotter pins into the provided bolts. The lid and the grill body line up perfectly and it was easy to attach the lid.
The next step is to install the handle on the front of the lid. There are 2 small porcelain spacers that attach to the end of the handle, then you simply install the handle with the bolts provided. You will need a Philips head screwdriver for this portion of the assembly.
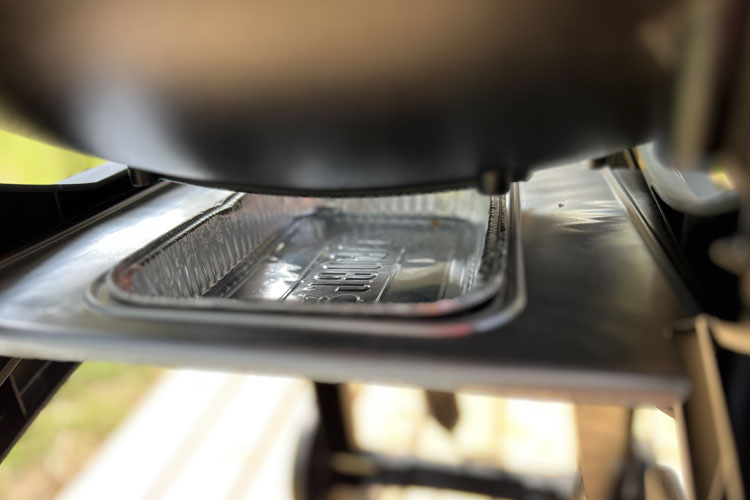
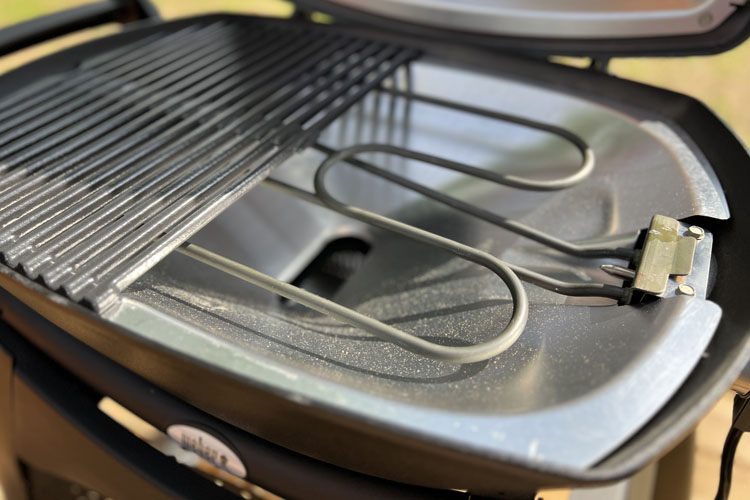
The final steps are to install the drip pan into the bottom of the grill and place the porcelain-enameled grill grates down into their spaces above the heating element.
To install the power cord, you simply slide the device into the side of the grill and you’re ready to start grilling!
Now, this grill can be used as a portable, tabletop grill but
Testing the Weber Q2400
Upon firing up the grill for the first time, I was surprised at how long it took to preheat. The process took about 20 minutes (which is what the owner’s manual recommends). The grill is relatively small, so I was not expecting it to take so long to heat up.
Another thing I noticed is that
While that is plenty of time for things like burgers, steaks, and grilled chicken, you would be hard-pressed to cook anything much larger than that without going over the recommended 60-minute operating timeframe.
Anytime I get a new grill, especially an electric grill, I like to perform a bread test. A bread test is simply placing plain, white bread on the grates of the grill for a couple of minutes and then flipping them over to see how evenly the grill cooks and whether there are any hot spots.


I found that the edges of the grill grates do not produce as much heat as the center of the grill, so there was a bit of uneven cooking during my bread test.
Overall the grill maintained a pretty steady heat, but I do wish that the heat was even all the way to the edges of the grill. When you only have 280 square inches of cooking space to work with, I think that every inch counts.
Cooking on the Weber Q2400
To test the performance of the Q2400, I chose to cook a couple of burgers, some bacon-wrapped jalapeno poppers, and a couple of ears of corn. I felt like a variety of items would give me a good idea of what the grill can and cannot do.

The burgers were by far the easiest thing to cook on the grill. I got some decent (but not great) sear marks on the burgers and they only took about 15-20 minutes to cook through.
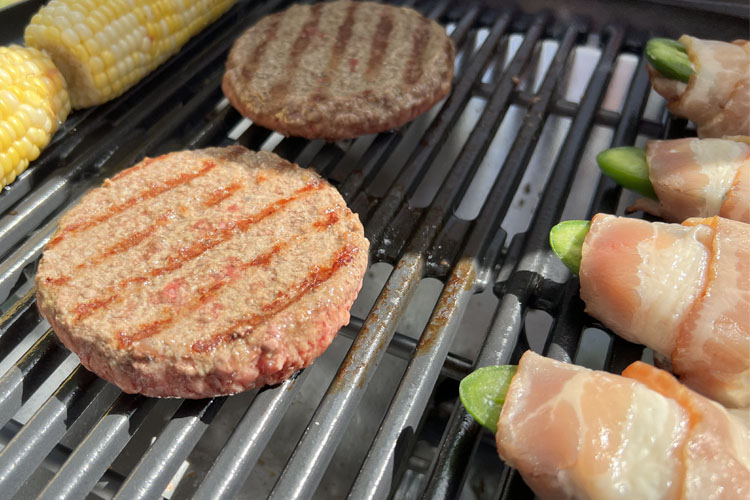
The jalapeño poppers didn’t cook as well as I would have hoped. The top of the bacon didn’t get crispy, so I had to flip them over to grill the bacon directly on the grates on both sides. I was hoping that the grill would hold enough ambient heat to cook the tops of the poppers, but I struggled a bit with getting them to cook the way I like them.

The corn seared nicely and I have no qualms with the grill’s ability to cook vegetables.
One thing that I really liked about cooking on the Q2400 was the porcelain-enameled cast iron grates. They were virtually nonstock and I had ZERO issues with my food sticking to the grates. In my opinion, they are a super high-quality feature that

Also, I like that you can choose from a variety of cooking temperatures ranging from Low to High heat, but I was really missing having a temperature gauge built into the grill. As I mentioned above, that may just be a personal preference thing, but I like to know the actual temperature of my grill when I’m cooking.
Cleaning the Weber Q2400
Mostly because of the size of the grill and the nonstick cooking grates, the clean-up on the
The bowl liner in the bottom of the grill is also removable, which is a huge plus from a cleaning perspective. You can just take the liner out, clean it, and replace it when you’re done.
The grill grates were super easy to clean because of the fact that they are made from porcelain-enameled cast iron. I simply rubbed them down with a grill brush and didn’t feel the need to take them inside to give them a full cleaning because they were easy to clean.


The grease catch pan is easy to remove and slides right out from under the grill. The drip pan is disposable, but you can definitely get quite a few uses out of it before you need to replace it depending on what you are cooking on your grill.
The Weber Q Stand
The Q Stand is a great accessory for the Q-series models of grills as it really turns the grill from a tabletop unit to a full, freestanding grill.
The assembly of the Q Stand is fairly easy and only took about 15 minutes to complete. You will need a Philips head screwdriver to complete the assembly, but the rest of the components come included in the box.
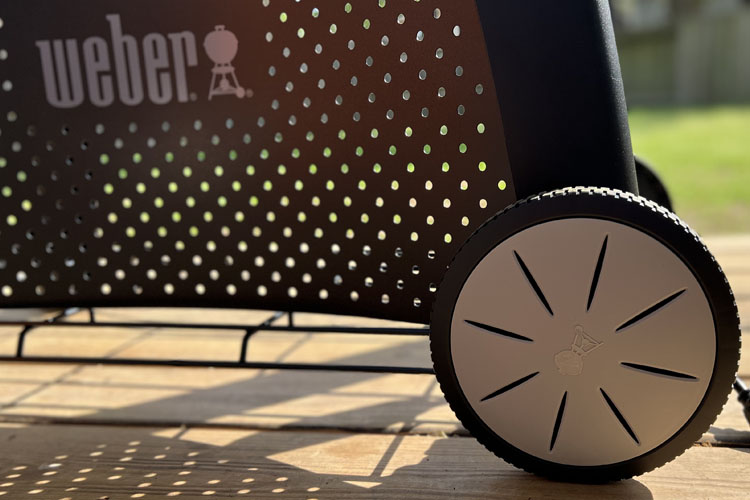
The wheels are large and sturdy. To install them to the cart, you simply attach them to a metal rod that feeds through the base of the stand and secure them with 2 cotter pins.
The Q Stand can be used for both their electric grill models and also their propane grill models, so the stand also comes with a propane adaptor and plenty of room at the bottom to store a propane tank.
The bottom of the stand has a wire grate that you can use to either hold a propane tank (if you are using a propane grill model) or use to store tools/accessories under your grill.
I do wish that the bottom was a solid piece instead of the wire-rack material, as it would be easy for smaller items to fall through the grate. I’m a sucker for storage under a grill though, so I was happy to have something to work with.
Assembling the legs only takes a few minutes and they provide 6 bolts that you use to attach to the cart.
One thing that I really didn’t like about the Q Stand was the front “cover” (though I don’t know if it can even be called that). It’s an extremely flimsy piece of thin plastic that slides into the front of the stand.

It doesn’t quite fit properly and I struggle to figure out exactly how
Overall, I would say the Q Stand is a great buy if you are wanting to use the Q2400 as a freestanding grill, as opposed to a tabletop grill. It’s sturdy enough to hold the grill, plus it has hooks on the front that you can use to hand your grill tools.
The wheels are nice and big and the stand makes it extremely easy to move the grill around from place to place with just one hand.
Final thoughts: should you buy a Weber Q2400 Electric Grill?
Overall, the
The variety of foods that you can cook in the space provided is limited – especially with the recommendation not to use the grill for longer than 60 minutes at a time.
Being electric, making it a great option for people that live in condos or apartments that may not allow charcoal or propane grills. Personally, I would stick with the much newer Lumin grill that doesn’t have the 60-minute limit.
The Q Stand is a great accessory to turn the grill from a portable, tabletop grill into a more freestanding style grill without having to break the bank.
I’d say that, especially considering the price point, the
For more options, check out our guide to the best indoor and outdoor electric grills.
Overall Rating
- Build quality: 4
- Ease of use: 5
- Performance: 3
- Features: 2
- Value: 4
If you’re still not convinced which portable grill is right for you, be sure to check out these articles:

About Your Pitmaster
Breanna Stark is a Texas-based competitive pitmaster and barbecue educator. She grew up cooking over charcoal and open flames while camping with her father, sparking a lifelong love of barbecue. Since 2014, she has competed in over 100 IBCA, KCBS, and CBA events, earning recognition for her award-winning chicken and Texas-style barbecue.
Passionate about recipe testing and development to create approachable dishes that help backyard cooks level up their barbecue skills. Breanna shares her expertise with over three million followers on social media.
My manual says nothing about a 60 minute limit. I’ve roasted chickens in my q2400 exceeding 90 minutes with no issues.
There is no 60-minute limit on this grill, I have no idea where you came up with that idea… I regularly slow cook ribs that take about 3 hours on low heat and they come out fantastic.
You claim it took you 15-20 minutes to cook hamburgers?… If I were to cook my burgers for 15-20 minutes like you do they would be way overcooked and burnt so badly that I’d have to throw them away.
I cook my burgers (which are about 3/4 inch thick) on high and they take about 5 minutes to be cooked to medium/medium rare and they have wonderful sear marks.
The same with steaks… I can cook a 2-inch thick ribeye to medium/medium rare on high heat in 10 minutes and they are seared perfectly.