
Roasted Red Pepper Salsa in a Pizza Oven

SmokedBBQSource is supported by its readers. We may earn an affiliate commission at no extra cost to you if you buy through a link on this page. Learn more.
A great way to add extra flavor to your salsa is to roast or char the vegetables before you blend them, but did you know you can achieve a quick and easy char right in your pizza oven?
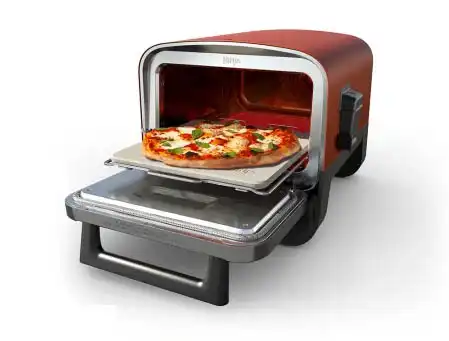
The reason pizza ovens are so great for charring vegetables is they are able to reach high temperatures quickly, and the Ninja Woodfire Outdoor Oven is a great tool for the job.
One of the excellent features of the Ninja Woodfire Outdoor Oven is that you can add wood pellets to enhance the flavor with real woodfire smoke flavor.
This post was sponsored by Ninja
Roasted Red Pepper Salsa in a Pizza Oven
Ingredients you’ll need
- Tomatoes – Campari or Roma
- Onion – white
- Bell pepper – red
- Garlic
- Jalapeño
- Lime
- Cilantro
- Kosher salt

Equipment you’ll need
- Pizza oven – I used the Ninja Woodfire Outdoor Oven, but any pizza oven would work fine.
- Baking pan – small
- Beautiful design with sleek features
- Super versatile, ability to cook in many ways
- Could be slighly larger
How to Make Roasted Red Pepper Salsa in a Pizza Oven
1. Fire up the oven
To get the Ninja Woodfire Outdoor Oven fired up, all you have to do is add pellets to the grill, set it to the ‘Specialty Roast’ setting, and press the ‘Woodfire Flavor’ button while it preheats.
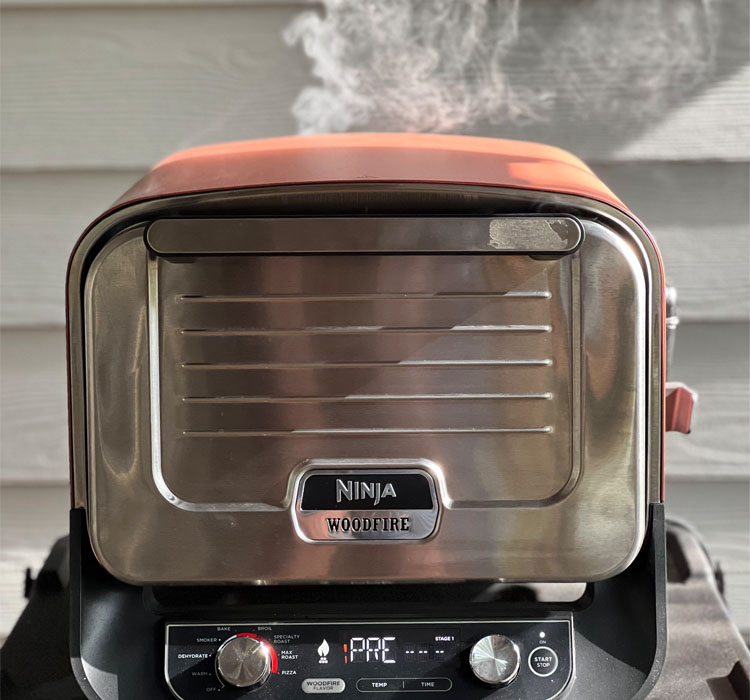
It will ignite the pellets first to get the woodfire flavor started, then will automatically start preheating the oven to 650°F.
2. Prep
Chop the stems off of the bell peppers and jalapeños, then slice the onion into quarters. Remove the seeds from the bell pepper, but leave them in the jalapeño to add a nice punch of spice. If you prefer milder salsa, simply remove the seeds from the jalapeño as well.
Place your chopped vegetables in a small baking pan, and they’re ready to hit the oven!

There are a lot of ways to make salsa, and everyone has their own preferences.
I like to roast bell peppers, onions, and jalapeño in the oven, but I prefer to keep the garlic and tomatoes raw. You get an extra punch of acidity from the tomatoes, and the raw garlic flavor really pulls the salsa together.
3. Roast
Once your oven is preheated, you can simply place the baking dish full of vegetables inside.
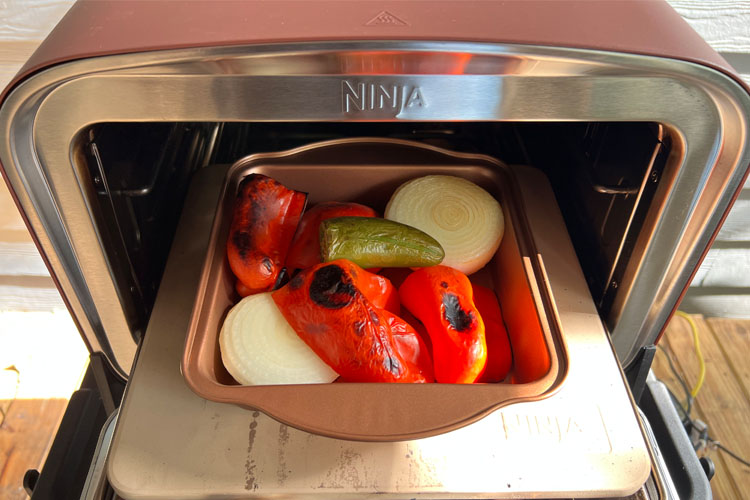
I let mine roast for about 6 minutes, and they were perfect, but just start checking them after about 5 minutes and pull them out when they are charred to your liking.
4. Blend
Once you’ve removed your roasted vegetables from the pizza oven, add them to a blender or food processor. Add the fresh tomatoes, garlic, cilantro, water, a squeeze of lime to taste, and Kosher salt, then blend it to your desired consistency.

Once your salsa is blended, you can serve it immediately or let it cool in the fridge for a few hours and serve it cold. It does get better with time!
It goes great on tacos, tostadas, and all types of foods, but you can also serve it alongside tortilla chips as the perfect dip.
It will keep in the fridge for up to 7 days in an airtight container or jar.

Roasted Red Pepper Salsa in a Pizza Oven
Ingredients
- 2 red bell peppers
- 1 white onion - large
- 1 jalapeño - large
- 8 tomatoes - small Campari or Roma
- 6 sprigs cilantro
- 6 cloves garlic
- ¼ cup water
- 1 tbsp Kosher salt
- ½ lime - or to taste
Instructions
- Preheat your pizza oven to 650℉ (I used the Ninja Woodfire Outdoor Oven and, additionally, added wood pellets with the 'Woodfire Smoke' setting to add a smoky flavor).
- Cut the stems off of your bell peppers and jalapeño. Remove the seeds from the bell pepper (you can remove the seeds from the jalapeño as well if you prefer less spicy salsa).
- Remove the skin from the onion and slice it into quarters.
- Place the onions, bell peppers, and jalapeño in a small baking pan.
- Place the vegetables in the pizza oven and let them roast for 5 to 6 minutes until the outsides are charred, and the peppers are soft.
- Remove the vegetables from the pizza oven.
- In a blender or food processor, add the roasted vegetables, tomatoes, garlic cloves, cilantro, water, a squeeze of lime juice to taste, and Kosher salt.
- Blend until the salsa reaches your desired consistency.
- Serve immediately or store in the fridge for up to 1 week.
Nutrition
Nutrition information is automatically calculated and should be used as an approximation only. If you’re worried you could always add a side of kale.

About Your Pitmaster
Breanna Stark is a Texas-based competitive pitmaster and barbecue educator. She grew up cooking over charcoal and open flames while camping with her father, sparking a lifelong love of barbecue. Since 2014, she has competed in over 100 IBCA, KCBS, and CBA events, earning recognition for her award-winning chicken and Texas-style barbecue.
Passionate about recipe testing and development to create approachable dishes that help backyard cooks level up their barbecue skills. Breanna shares her expertise with over three million followers on social media.