
Rotisserie Smoked Turkey

SmokedBBQSource is supported by its readers. We may earn an affiliate commission at no extra cost to you if you buy through a link on this page. Learn more.
My family is all about rotisserie chicken so I figured why not try tackling a big bird – rotisserie turkey.
Now you can use the rotisserie attachment on your gas or charcoal grill, but I decided to use my new
Read on for the full recipe or watch my video where I walk you through my step-by-step process for a rotiserrie turkey.
Why Rotisserie a turkey?
Rotisserie cooking gives you that juicy, tender meat with smoky flavor throughout. The constant rotation keeps the turkey basting itself while the drippings and add even more smoky goodness. Plus, it’s just plain fun to watch the bird spin and take on that golden brown color.
- Rotisserie for the Win: The beauty of the rotisserie is that the turkey bastes itself as it spins, so there’s no need to mess with oils or sprays.
- Pellet Perfection: Hickory and maple add great flavor, but I think I’m going to try cherry next time for a killer color.
- Golden Brown Goals: The Searwood delivers a deep mahogany finish on poultry every time. If you want a lighter look, skip the paprika in your rub.
What you need:

- A grill with a rotisserie attachment – I’m using my Weber Searwood pellet grill with the Weber Rotisserie kit.
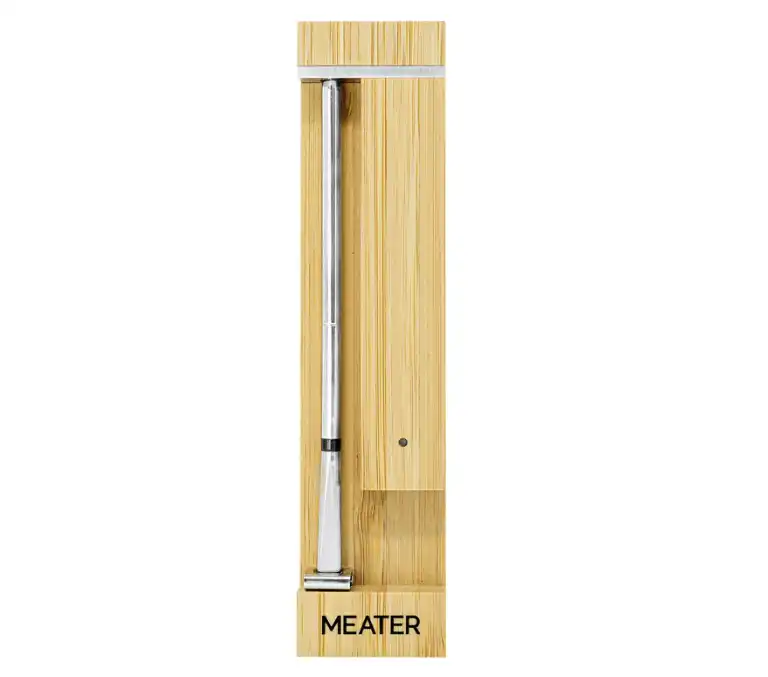
- Meat thermometer or wireless probes – Since we’re cooking rotisserie style I recommend using a wireless thermometer like the MEATER Pro.
- Briner bucket – or a big enough container for brining
- Large pot – to make the brine solution in
- Ice – To cool the hot brine liquid down, and to keep the turkey at a safe temperature if you don’t have room in the refridgerator
- Butcher twine – To keep the legs and wings nice and tight and prevent burning
How to rotisserie a turkey step-by-step instructions
1. Brine the bird
If you’ve never brined a turkey before, trust me – this step is non-negotiable if you want the juiciest, most flavorful turkey.
The exact ingredients don’t matter so much so long as you get the water and salt ratios about right. Use whatever herbs you have on hand.
I like citrus so I added some orange and lemon quarters.

You don’t want to submerge the turkey in boiling hot water, which is why I let it cool slightly, and then add the other half of the cold water along with some ice before dropping the turkey in.

2. Truss the turkey on the rotisserie
Now that the bird is brined and happy, it’s time to get it set for the rotisserie. Remove it from the brine mixture and pat it dry with paper towels. If you’re really worried about over salting it, you can give it a quick wash but I don’t find it needs it.
Turkeys are tougher to truss than chickens because their bones aren’t as flexible. Don’t be surprised if you need to make adjustments – I had to redo mine after my first try felt flimsy.

Insert the claws into the turkey’s backbone and spine for stability. Aim to also grab some of the bottom breast meat for extra support.
You can use butcher twine to help secure the legs and get everythiung nice and tight on the rotisserie.
Once the turkey is on the spit, give it a light jiggle. If it feels wobbly or loose, take a moment to readjust. A securely mounted turkey will rotate evenly and cook properly. Now’s also a good time to test that you’ve got good clearance, before your grill is scorching hot.
3. Season the turkey
Rub the turkey generously with your favorite turkey rub or keep it simple with salt, pepper, and garlic powder. You can also hit it with your favorite store bought barbecue rub.

I like to get a little bit of rub under the skin and into the cavity as well. This is also a good point to insert your wireless probe into the thick part of the breast.
Because I was using my MEATER Pro Duo I inserted a probe into each side of the turkey and set a target temperature of 162°F, and I customized the cook to alert me as the turkey got close to that range.

You can use an instant-read thermometer, you’ll just want to keep opening the grill regularly to check the temperature
4. Fire up the rotisserie
While the rub sits on the turkey, it’s time to fill up the grill. On the Searwood this is as easy as setting the grill to 350°F and allowing it to come up to temperature. If you’re using charcoal, about one chimney of hot coals spread out evenly should do the trick. On a gas grill aim for medium heat.
Get the turkey on the rotisserie and close the lid.

Cook at 350°F until the thickest part of the breast hits 162°F. For a 12-pound turkey, that’s about 3–4 hours.

Even though I had the MEATER probes working, I still like to double-check temps periodically using my instant-read thermometer. Call me old-fashioned, but I want to make absolutely sure everything’s on point. That said, the MEATER impressed me with its accuracy with the readings lining up.

- High Temperature Resistance
- Multiple Temperature Measurement Points
- Improved Range
- Ambient Temperature Accuracy
- Battery-Powered Charging Base
If you don’t have a wireless probe, just set a timer for every 30-45 minutes and check your internal temps. When you get around 150°F internal start checking every 15-20 minutes.
I recommend aiming for just under 165°F as the turkey will continue to cook while it rests.
5. Rest and carve
I like to rest the turkey for 20-30 minutes. Trust me, this step is worth the wait – the juices will redistribute beautifully.

Once the turkey is off the rotisserie, place it on a large cutting board or serving tray. If you’re worried about the turkey cooling too much, lightly tent it with aluminum foil. Avoid wrapping it tightly, as that could trap steam and make the skin soggy.
When it’s time to carve, the goal is to slice in a way that keeps the meat tender and juicy while also showcasing that beautiful golden skin.

I like to start by slicing off the legs and thighs, followed by the wings and then removing the whole breasat before slicing into even pieces.
Smoked Rotisserie Turkey Recipe

Ingredients
- 1 whole turkey - 10–14 lbs
- 3 tbsp turkey rub
For the turkey brine
- 2 gallons water
- 1½ cups kosher salt
- 2 cups brown sugar
- 3 tbsp black pepper
- 3 oranges - cut into wedges
- 3 lemons - cut into wedges
- 5 garlic cloves
- 4 tbsp fresh rosemary
- 4 tbsp fresh thyme
Instructions
To brine the turkey
- Heat 1 gallon of water in a large pot over medium-high heat. Stir in kosher salt, brown sugar, and black pepper until dissolved. Add the orange and lemon wedges, garlic, rosemary, and thyme. Let it come to a gentle boil to extract all those good juices and aromas.
- Cool it down with the second gallon of cold water and some ice. Make sure the brine is below 45°F before the turkey takes a soak.
- Submerge the turkey in the brine, cover it up, and refrigerate for 12–24 hours. Let it soak up all that flavor goodness.
To rotisserie the turkey
- Pat the turkey dry and remove any plastic bits or built-in thermometers. Trash those—they’re no good.
- Truss the turkey onto the spit. Fair warning: turkeys are tougher than chickens to secure. Take your time and get those claws snug into the backbone and breast for stability.
- Apply an even coating of turkey rub, making sure to get some under the skin of the breast and into the cavity.
- Preheat your grill to 350°F. Do a quick fit check with the turkey on the rotisserie to make sure nothing’s hitting the sides of the grill.
- Place the turkey on the rotisserie and close the lid. Cook at 350°F until the thickest part of the breast hits 162°F. For a 12-pound turkey, that’s about 3–4 hours.
- Let the turkey rest for at least 30 minutes before carving.
Video
Nutrition
Nutrition information is automatically calculated and should be used as an approximation only. If you’re worried you could always add a side of kale.

About Your Pitmaster
Jeff “Ricer” Rice is the face of the Smoked BBQ Source YouTube Channel, where he brings expert BBQ equipment reviews and mouthwatering cook videos to life. A lifelong barbecue enthusiast, some of his fondest memories have been made around a pit, and he’s passionate about sharing that experience with others.
Whether he’s testing the latest gear or firing up the smoker, Jeff takes a real, no-nonsense approach to barbecue, making it easy for anyone to fire up great BBQ at home.