
How to Make Italian Style Pizza in a Wood-Fired Oven

SmokedBBQSource is supported by its readers. We may earn an affiliate commission at no extra cost to you if you buy through a link on this page. Learn more.


In this guide, we will walk you through our recipe for traditional Italian style thin crispy pizza.
You’ll learn exactly how to build and maintain a wood fire in a traditional brick pizza oven so you can make perfect pizzas every time.
But don’t worry if you don’t have access to a traditional wood-fired oven, I’ll also talk you through some other methods of achieving crispy, salty, chewy, melty delicious Italian style pizza in your own BBQ or grill (or even oven!)
What you’ll need
- a traditional wood burning pizza oven for best results, otherwise a BBQ capable of hot and fast cooking plus a pizza stone
- small sticks of hardwood kindling
- a charcoal chimney starter (optional)
- heat beads or charcoal (optional)
- different sized hardwood sticks to build and maintain your fire
- ingredients as below for your pizza base, plus toppings of your choice
- some eco fire starters and matches or lighter
- a fire poker
- pizza paddle
- welding gloves or heat resistant gloves (recommended)
- a fire resistant brush
Since this is a recipe for wood fired pizza it stands to reason that you’ll need a wood fired oven!
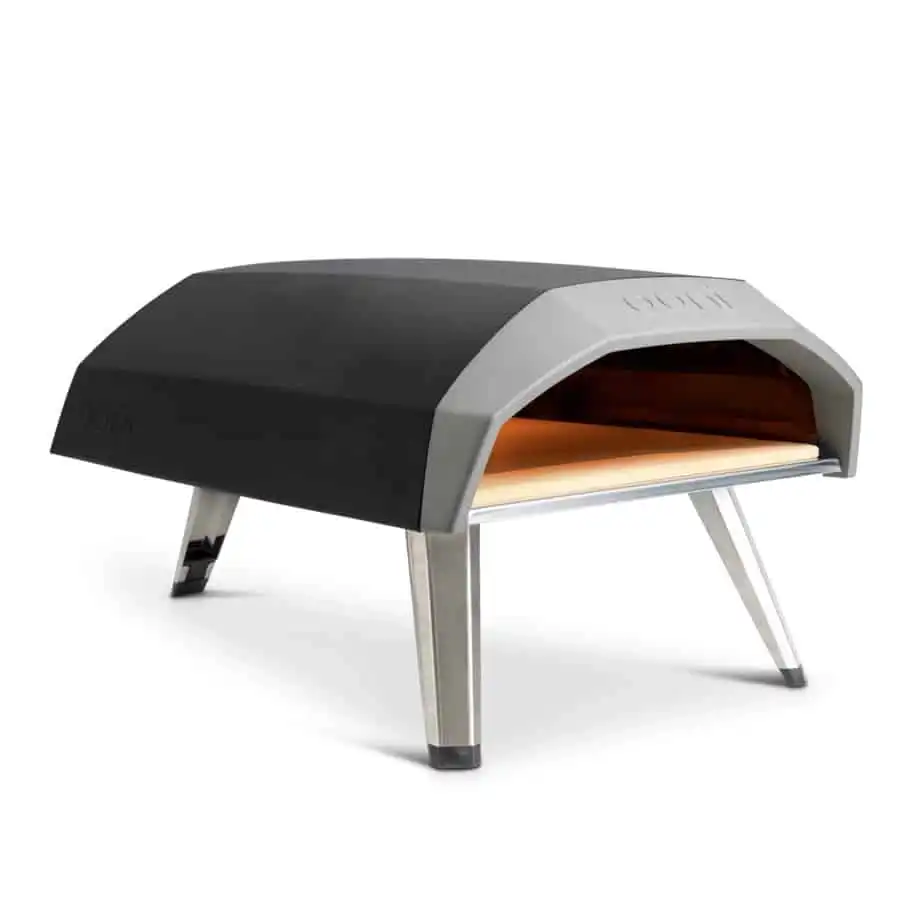
While this is your best bet, you can get results almost as good with a more portable gas of wood pellet fired oven. We are big fans of Ooni Pizza ovens thanks to their ability to cook at the same temp as a wood fired oven at a fraction of the cost.
Making your pizza bases
If you are taking the time to cook pizza in a wood fired oven, I highly recommend making your own pizza bases

In the next section, we’ll go through everything you need to know to make a great dough, so if you just want to learn how to set up and manage the fire for your oven skip ahead.
Choosing the right flour for your dough
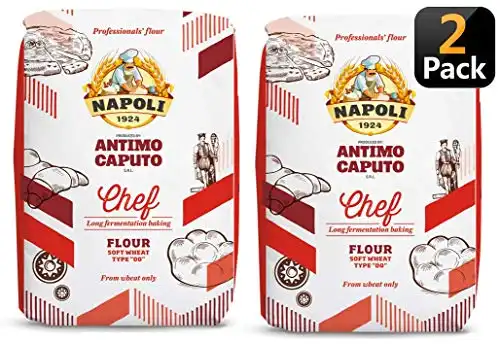
The best flour to use for your pizza dough is type ’00’ flour. Don’t worry, you will be able to get this flour in most supermarkets. So what is ’00’ flour, and why is it best for pizza dough?
The ’00’ refers to the texture of the flour; Italian flours are classified by numbers according to how finely they are ground, from the coarsest ground ‘tipo’ 2, to the finest ’00’.

So why is ’00’ the best for pizza?
Well, without being too boring around the science of it all, ’00’ flour has low protein, low starch, and low gluten. This makes it soft and perfect for pasta and pizza as its low gluten content makes it stretchy without springing back when you form it into pizza bases.
It also helps prevent it tearing.
Using “00” flour will also help you get a crispy base with a little bit of chewiness without feeling like rubber, and when you cook it on a wood fire with high heat, you’ll get that incredible crust with its puffy little bubbles commonly associated with Italian wood-fired pizza.
Making your dough
You’ll need the following:
- 4 cups of that 00 flour
- 1 tsp of salt
- 1 tbsp caster sugar
- 4 tbsp of extra virgin olive oil
- 2 1/2 tsp dry active yeast
- 2 1/2 cups of lukewarm water
This will make you around 8 medium sized pizzas.

Mix the flour and salt together in a large bowl, and make a well in the center to add wet ingredients.
Tradition states you mix it directly on a work bench by making a pile of flour, making a well, and slowly incorporating the water, but it’s easier to clean up if it’s in a bowl.
In a separate jug, mix the water, sugar, oil, and yeast and leave for 5 minutes until it’s bubbling or foaming.
Slowly mix the water mix into the flour, and knead for at least 5-7 minutes, until you’ve got a smooth, silky, elastic dough. You can use a breadmaker if you like.
Lightly oil a large bowl and place the dough inside, cover with a clean cloth, and leave in a warm place for an hour or until roughly doubled in size.
Knocking back the dough
Take the dough out onto a floured work surface and work some of the air out of it, kneading again for a couple of minutes.
Split the dough ball into 8 equal balls for the bases and leave again for a further hour until you’re ready to cook. You can chill or freeze these dough balls at this stage if you won’t be cooking for a while.
If you’re chilling them, just cover or wrap in cling wrap and put them into the fridge. Take them out 30 mins before you’re ready to use them. They can be kept in the fridge overnight if you want to do this step ahead of time.
Building your pizza oven fire
A proper wood-fired pizza oven will cook a pizza in just a couple of minutes.
A ceramic pizza oven is the best way to hold heat, but any dome-style pizza oven with proper bricks or tiles as a base will work just fine.
To get your pizza to cook in the same time it takes to get a beer out of the fridge, open it and walk back to see how your pizza is coming along (yes this is an accurate measure of time that I can attest to through experience), the oven needs to be at 700°F or more.
The best way of getting to those kinds of temps is to build up a good coal bank, and use hardwood splits to keep the fire burning throughout the cook in your pizza oven.
We have another article that covers the best wood to use in your pizza oven.

You can achieve this a couple of different ways:
- Use a charcoal chimney to start a full chimney of lump charcoal, then maintain using hardwood splits as per point 6 below.
- Build your coal base from scratch following the instructions below.
Follow these steps to build a charcoal base:
- Starting with some hardwood kindling about 1″ thick, set up a base layer, running 3-4 sticks parallel to each other, spacing them a couple of inches apart in the middle of your pizza oven.
- In between your kindling sticks, place a couple of eco-friendly firelighters. Don’t use liquid firestarter or the white plastic looking firestarters as these will taint the base of your pizza oven with an unpleasant chemical taste, and you’ll be cooking directly on top of this.
- On top of your base layer, place another layer of kindling perpendicular to the first layer, 3-4 sticks with the same spacing as the first layer.

- Keep building the structure in the same way, 3-4 ‘storeys’ high.
- Light your firelighters using a long match or butane stove top lighter. This structure ensures adequate airflow to your fire and will ensure clean, quick combustion.

- Once the kindling is fully alight, start by using some smaller splits of hardwood firewood (oak is good), and gradually increase the size until 1/4 split (5″ or so thick), and burn until you have a sizable coal base in the center of your pizza oven. You can then maintain with medium-sized chunks of firewood. This process from scratch should take around an hour or so, but is worth the effort.

- Once you have a raging hot coal bank, use a long handled poker to push it all to one side of your pizza oven (I also use welding gloves – I learned this the hard way when I singed the hair off my arm the first time!). Building in the center will ensure your fire bricks get nice and hot, enabling the base of your pizza to cook and crisp up nicely. When your coal base is pushed to the side, flames will roll up and across the top of your oven, so you’ll get heat coming from the side and top to cook your pizza perfectly, melting the cheese quickly and ensuring the base doesn’t burn while your cheese not melted.

Throughout this process, make sure that the vents on your chimney stack are fully open for maximum airflow and to ensure a hot, clean burn.
If you have a door on your pizza oven, open the vents if you want to use it, but watch that you’re not smothering the fire. I leave my door completely off or have it ajar halfway open.
Making your pizzas
Traditionally, a pizza should be stretched by hand, slowly working it with your fingertips, pushing outwards, leaving the edges slightly higher than the centre.
Using the ’00’ flour will ensure that you’ll be able to stretch your base out nice and thin without it ripping. When you cook it, it will puff up and bubble slightly, so won’t be as thin as you stretch it.
This video explains the process nicely.
If you’re having difficulty, don’t worry about using a rolling pin (or wine bottle if you can’t find one!) Also, don’t worry if your base is not perfectly round – that just adds to the charm!
Once you’ve stretched your base out it’s time to transfer it to your pizza paddle.
Ensure that you use some semolina flour on your paddle before you transfer the dough. The larger grains of semolina will act almost like ball bearings and will allow you to transfer your pizza easily to the pizza oven, without it sticking to the pizza paddle.
When it’s on your paddle, add your toppings. For a tomato sauce base, you can just use store bought passata, thinly spread tomato paste or just straight tinned tomatoes blended until a pulp.

It’s important that if you are adding things that need to be cooked through, like chicken or bacon, that they are pre-cooked.
The pizza will only be in the oven for a matter of minutes, and this is not long enough to ensure they are cooked through.
I also have a rule in my house when it comes to toppings, much to the disgust of the neighbor’s kids: no more than four.
You really don’t want to pile on heaps of toppings as the base may go soggy, so less is more in this respect.
If you’re using really good quality toppings – and you should – the flavors will be amazing anyway. This isn’t Dominos that you’re aiming for, it’s traditional Italian style.
Once you’ve added your toppings, it’s time for the cheese. I use cherry bocconcini for my pizzas. It’s very close to traditional buffalo mozzarella and comes in little cherry-sized balls which I just tear in half and scatter on my pizza.
As with other toppings, less is more if you want the traditional Italian style pizza. You can use whatever style of cheese you like, I’m not the dairy police. Just don’t use burger cheese slices.
Cooking your pizza
Now that your pizza oven is approaching the temperature of the surface of the sun, it’s time to cook your cheesy disc of deliciousness.
Incidentally, because I’m a sucker for whatever BBQ technology I can get my hands on, I bought a cheap IR thermometer gun to check the temp of the oven where I’m going to place my pizza.
ThermoWorks sell an excellent IR gun, or you can pick one up for cheap off Amazon. They are handy to use to measure the temp in your oven, as well as your cat, your children, your fridge, your car exhaust, and anything else within pointing distance. You know you will.
Use your paddle to transfer your pizza to the oven trying not to drop it on the way – this has happened to me and made me say various four-letter words – and slide it in one motion into the center of the oven.
Now, importantly, watch it CAREFULLY. You will see the dough crisp, color and rise, and the cheese melt before your eyes.
It’s like watching one of those timelapse videos, only with a delicious pay off at the end.

Because all the heat is coming primarily from one side, half of your pizza will color and cook first, so it’s important that you use your pizza peel to turn the pizza around midway through.
Releated – The Best Pizza Peels you can buy
If your oven is hot enough, this should take no longer than 45 seconds to a minute and a half.
Spin your pizza – depending on the size of your fire, you can do one 180 degree spin, or several 90 degree turns to achieve the desired color. I like the edges slightly charred.

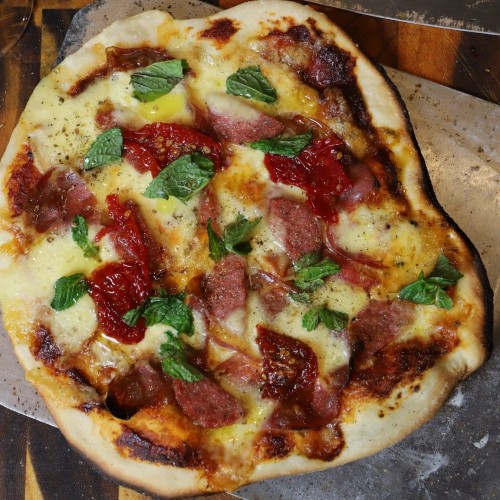
Once done to your likeness, use your pizza peel/paddle to slide it out and onto a chopping board. I tend to scatter over some torn basil, and then drizzle with a flavored oil like garlic or chili oil. Slice into desired slices and devour.
This style goes especially well with a nice Italian red wine. Cheers, mate.
What if I don’t have a wood fired pizza oven?
You can still make delicious pizzas at home using your hot and fast BBQ and a pizza stone, or even your oven at home at a push.
Make the dough base exactly as above, and you want to get your BBQ as hot as you can get it. The next best thing to a wood fired pizza oven is a kamado style BBQ, such as a Big Green Egg or Kamado Joe, as these can get up some super high temps.
For fuel, use lump charcoal as this will burn hotter and push your temps up. You can add a chunk or two of some smoking wood like cherry to add additional flavor.
At a push, set your oven to the highest fan forced temp it will go. With any of these methods, it’s important to preheat your pizza stone in the BBQ or oven before putting on the pizza.
Generally, these methods take a bit longer to cook, especially the oven, which will take 12-15 mins, but just keep an eye on it, regardless of which method you use, and you’ll still turn out good results.
Wood Fired Pizza
Ingredients
- 4 cups flour type 00
- 1 tsp salt
- 2 ½ cup lukewarm water
- 1 tbsp caster sugar
- 2 ½ tsp dry active yeast
- 4 tbsp olive oil extra virgin
Instructions
- Mix together flour and salt in large bowl.
- Mix lukewarm water, sugar, yeast and oil in a jug and leave for 5-10 mins.
- Make a well into centre of flour and add water mixture, using hands to slowly incorporate it.
- Knead for 5-7 mins, until soft and silky.
- Place dough in a lightly oiled bowl and cover with a clean towel or cloth.
- Leave in a warm place to rise for an hour or until doubled in size.
- Knock back the dough by quickly kneading again for a couple of minutes, then cut into 8 equal sized balls and place in the fridge.
- Roll out the dough using fingers to push outwards towards edges.
- Add tomato pasata and toppings.
- Cook in a preheated pizza oven, BBQ or oven until desired color and crispiness.
- Scatter with torn basil and drizzle with flavoured oil.
- Slice into the desired number of slices and enjoy!
Nutrition
Nutrition information is automatically calculated and should be used as an approximation only. If you’re worried you could always add a side of kale.

Get Your FREE Digital Barbecue Cookbook
Packed with our most popular recipes including brisket, pulled pork, ribs and more!
Read ad-free on your phone, tablet or print out and spill BBQ sauce on them.


